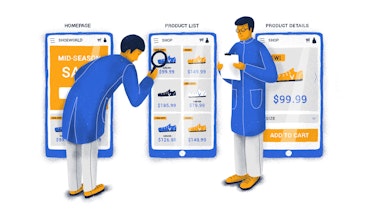
While UI and UX are different animals, they complement each other very neatly.
User interface (UI) design is more preoccupied with the visual aspect of things. It focuses on creating easy-to-use interfaces that are also visually appealing.
User experience (UX) design is more ethereal. It can be applied to anything from digital to analog products. UX design focuses on how it feels to use a product.
Despite these considerable differences, there’s a significant overlap between the tools we use for both of them.
In today’s article, we’ll look into a variety of UX and UI tools that you may find helpful at every stage of the design process.
1. Discovery and audit
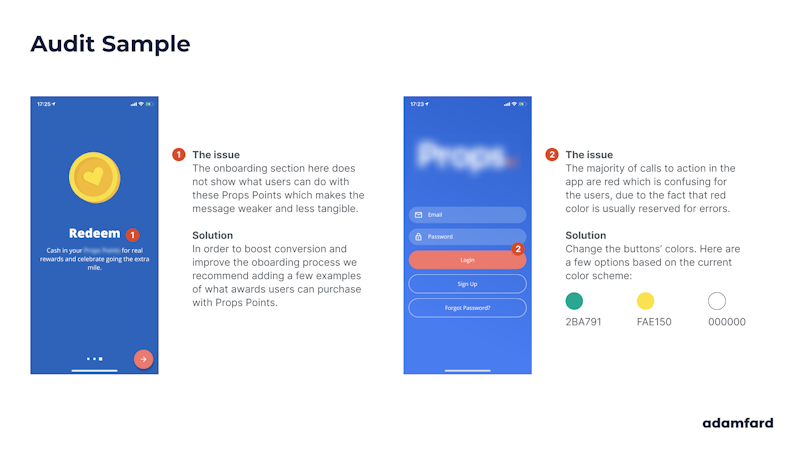
Discovery and audit share an important similarity — they both strive to reveal the pain points users have to deal with.
During the Discovery phase of a project, teams have to go through large data sets and extract as much insight out of it. Here are some common activities held during this phase:
Market research and competitor analysis;
We also have a comprehensive video that covers all aspects of heuristic evaluation. Consider taking a look at it if you prefer watching over reading.
Outlining scope and business priorities;
Risk assessment;
Establishing user roles and product features;
Creating main workflows;
UX audits also imply that teams will go through massive amounts of data. Auditors typically have to look into a host of analytics like conversion metrics, customer care data, sales data, etc.
In order to make work more efficient, such efforts need to be collaborative. This allows teams to edit projects in real-time, while the rest of the team can immediately sync up with the changes.
Here are a few tools we think you’ll find useful during the Discovery phase or UX audits:
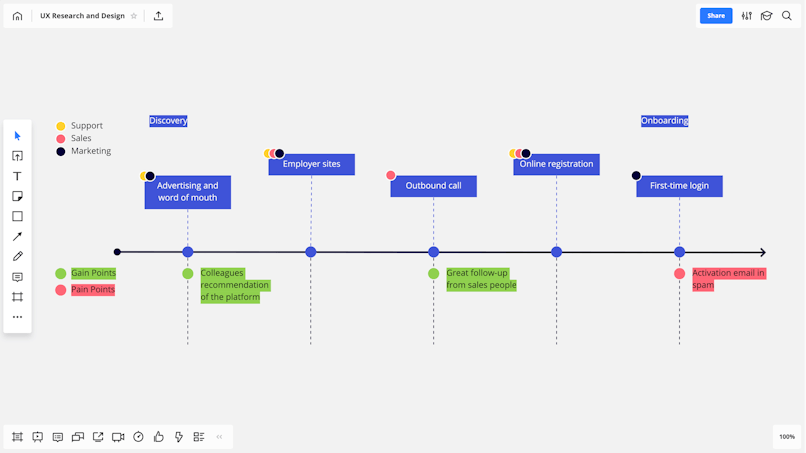
Miro — a very versatile whiteboard platform that allows teams to brainstorm and plan workflows. Pricing starts at $8 per person if you’re looking to work as a team with multiple projects, but individual accounts are usually more than enough.
Whimsical — a great tool that helps you focus on ideas rather than design. It’s a great solution to collaborate on ideas visually by creating flowcharts and wireframes. It’s free for up to 4 boards. After that, plans start at $10 per month.
Figma — an excellent browser-based tool that is perfect for collaboration. Its interface allows everyone to see each other’s actions. Premium plans start at $12 per month, but basic plans offer more than enough functionality. Please note, that Figma’s learning curve is much steeper than Miro’s or Whimsical’s. Therefore, if you haven’t used Figma before, you might want to consider other tools.
Google Docs — one of the earliest collaborative online tools. While Google Docs isn’t a design tool per se, its easy-to-use, accessible interface makes collaboration fast and intuitive. The service is free, but there is a Business version of the G Suite that offers extended functionality.
2. Ideation and conception
During Ideation, teams use the data they’ve collected in the Discovery phase to generate ideas and challenge assumptions.
The process of conception is the development of the idea behind a design. It’s the backbone of all of your further design-related decisions.
Let’s look into a few critical parts of the ideation and conception processes:
2.1 Information architecture
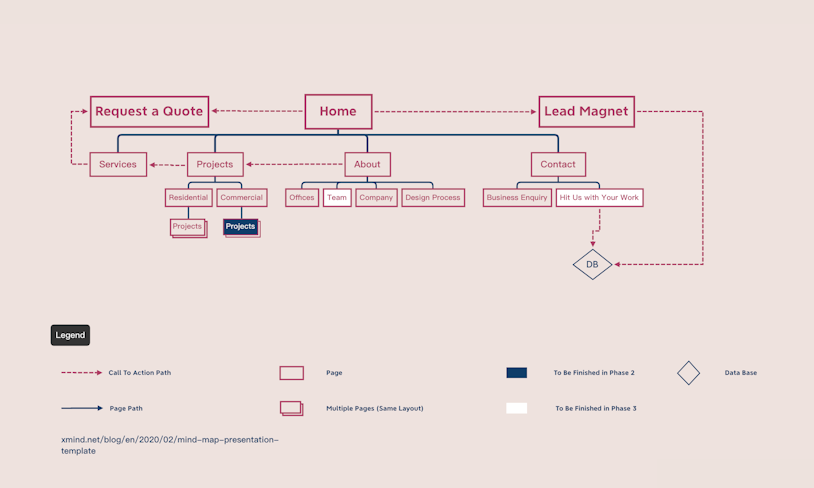
Information architecture (IA) is a hierarchical representation of a product’s infrastructure.
Developing a product’s IA is a strenuous process, so it’s essential that your tool allows your team to collaborate in real-time and leave comments and suggestions.
Miro — the tool has a dedicated Sitemap template, which can be a great starting point for your product’s IA.
Whimsical — the product has its own mind mapping tool, which allows you to collaborate with your team on a product’s architecture.
Xmind — this is a great, feature-rich mind mapping tool that helps quickly categorize complex information. Plans start at $39.99 per 6 months.
Figma — this product also has a quick and collaborative site mapping tool that can significantly speed things up when working on IA. Note that this tool is a plugin and not native functionality. As mentioned before, due to Figma’s versatility it’s not as straight-forward as other tools.
Sketch — this tool, unfortunately, does not offer real-time collaboration. However, there are lots of IA kits online created specifically for it. Sketch costs $99 (one-time payment), or $9 a month subscription basis.
2.2 User flows
User flows are representations of the pathways our users follow when they’re attempting to perform an action. They are graphically rudimentary, yet incredibly useful. Teams use user flows to improve UX over time and establish the easiest way to execute tasks.
Miro — this tool has a great flowchart template, which can make the process much quicker and easier.
Whimsical — this product has a dedicated “Flowcharts” tool. It allows your team to collaborate in real-time and get things done faster and more efficiently.
Figma — they developed the UX Flow 2.0 kit, which contains hundreds of customizable cards, lots of sitemap examples, and much more. Again, this is one of many plugins. You can either use plugins or design your own flows with native functionality.
Sketch — there are dozens of free and inexpensive user flow kits online that were tailored specifically for Sketch. As with Figma, you can design your own flow.
2.3 Wireframes (low-fi and high-fi)
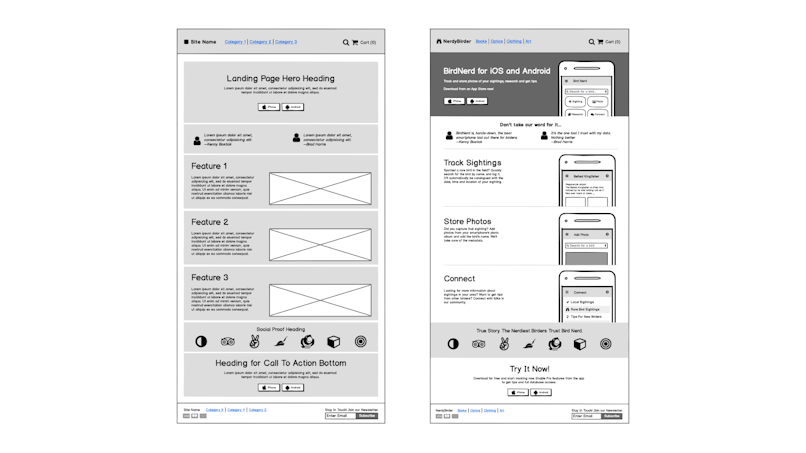
Wireframes are a great way to build a strong foundation for your team’s design process. It helps ensure that your entire team is on the same page. More importantly, it’s a great way to streamline the design process from beginning to end.
Figma — wireframing with Figma is notoriously straightforward, thanks to its collaborative features. Feel free to either use plugins or native functionality.
PowerPoint — while not commonly thought of as a wireframing tool, PowerPoint is very accessible to clients who aren’t tech-savvy. Plus, there is an excellent wireframe toolkit made for PowerPoint called PowerMockup.
Sketch — thanks to a loyal developer community, there are lots of plugins that make it easy to transfer files into other steps of the design process. Plus, it integrates well with prototyping tools like Framer and Principle (which we’ll touch on in a sec).
Miro — this tool has an excellent wireframe library and a variety of templates that can help you create great low-fidelity wireframes.
Balsamiq — this is a simple tool with a very manageable learning curve. It’s an intuitive drag-and-drop builder that works best for low-fidelity wireframes.
Axure — one of the oldest tools in the market. It allows you to create detailed wireframes, while also being able to collaborate with your colleagues. Think of it as Figma, but without the real-time collaboration. Plans start at $29 per month.
2.4 Prototyping
Prototyping is especially important because it’s the first glimpse of a finished product that clients can see. Nowadays, there is a wealth of tools on the market, and choosing one isn’t really that easy.
When choosing the right prototyping for your project, ask yourself the following questions:
Does it have a steep learning curve?
How collaborative is it?
How easy is it to use?
How expensive is it?
Does it fit your design process?
By answering them, you’ll be able to narrow down the most promising options that will fit your purpose and process.
Here are our favorite prototyping tools you should check out:
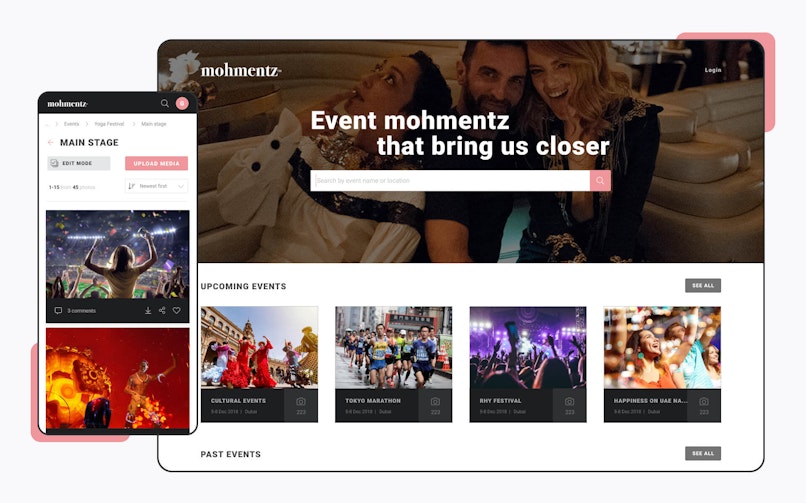
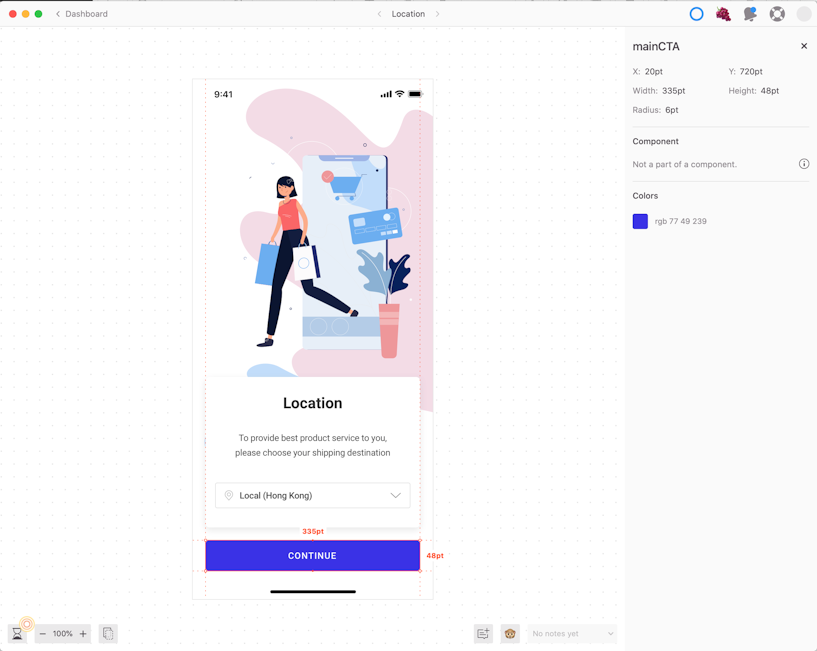
Figma — great with defining subtle interactions. Figma also supports embedded commenting, so team members can leave quick feedback in real-time.
Framer — it’s one of the most popular tools in this niche. It supports projects from a variety of tools like Figma and Sketch. Framer also supports real-time collaboration. Plans start at $15 per month.
Proto.io — Great tool for interactive prototypes. It has an extensive library of customizable elements. Plans start at $24 per month.
Principle — a popular prototyping tool that is visually similar to Sketch. Principle does not support real-time collaboration. It costs $129 (one-time payment). The tool is often used to show developers the interactivity and transitions among screens and elements.
ProtoPie — lots of powerful features, an intuitive interface, and great for collaboration. Plans start at $11 per month. It’s also noteworthy that this tool turns screens into flat рng pictures.
Axure — although it’s a complex tool, it allows creating prototypes that are almost indistinguishable from the real coded websites. You can both export Sketch or Figma files into Axure, or design the assets for the prototype within Axure.
InVision — works in conjunction with Sketch, Marvel, or any other design tools that can produce a рng's file. You’ll just need to create a clickable shape on top of the рng's that you’ve uploaded.
Interactive Prototype created in Figma
3. UI design
When choosing a UI design tool, there is a variety of factors you need to take into account:
The amount for resources and UI kits available online;
Specialization;
Collaborative features;
Plugin support;
Quality of documentation;
Integrations;
Here are our favorite UI design tools:
Figma — the tool’s interface enables users to create interfaces effortlessly. The platform allows team members to make changes and leave comments. This allows anyone from devs and copywriters to weigh in during UI design.
Sketch — this tool has a great feature called “Symbols.” It allows designers to create design systems with consistent UI assets and elements.
Adobe XD — this tool also allows its users to create design systems, making their work faster and more efficient. Adobe XD offers a wealth of integrations and plugins. Plans start at $9.99 per month.
4. Design Handoff
This step is the point where a design is passed on to developers. Here are some of our preferred handoff tools:
InVision — integrates very well with common developer tools such as Jira, Confluence, etc. Plans start at $7.95 per month.
Zeplin — makes handoffs much easier and quicker. Designs can be imported from Adobe XD and Figma and can be exported in Objective-C, React Native, and a variety of other languages. Plans start at $17 per month.
Figma — developers don’t need an “editor” account to access design data. Information can be accessed in “view only” mode. The beauty of Figma is that you don’t need to switch among apps depending on the design stage, meaning that you hand off design in the same tool you were working all along.
Conclusion
You may have noticed that we’re quite fond of Figma. It’s a tool that can be used virtually at every stage of the UX process. The second best option would involve using at least three tools to provide the value that Figma has to offer.
PS. We haven’t been paid by Figma, we promise :)


